

In our last post (Exporting accounts to federated realms: A guide to Keycloak and LDAP Integration), we explored how to easily import users into our Keycloak server from another system using the LDAP protocol. This time, we’ll take a closer look at the visual aspect of this solution by customizing the stylesheet for our application and allowing the end-user to get a unique feeling when visiting our site.
Built-in themes
Keycloak offers extensive customization options for the user interface and appearance through its “themes.” Customizing themes allows us to tailor the look and feel of their applications to meet specific needs, not only reinforcing the brand’s visual identity.
Keycloak comes with several pre-built themes bundled within its distribution. The available themes include the base theme, which provides HTML templates and message bundles that all other themes, including custom ones, typically inherit from. The keycloak theme contains images and stylesheets for enhancing page CSS and is used by default if no custom theme is provided. Additionally, the keycloak.v2 theme is a React-based theme designed for the new Admin Console, with the older console set for deprecation. Modifying existing themes is not recommended, instead creating a new theme that extends one of them is the preferred approach.
For a complete customization, copying the contents from the base folder is ideal, but for partial modification, it’s more practical to start with the contents from the keycloak directory. As we’ve already said, only the parts of the theme that need to be overridden should be included in the new custom folder.
FreeMarker Template
FTL themes in Keycloak refer to templates written in Freemarker Template Language that define the look and feel of various pages and emails in Keycloak. These themes allow you to customize everything from login pages to error messages and account management interfaces.
Keycloak themes are typically organized into four main categories:
- Login: Customizes the appearance of login, registration, and password reset pages.
- Account: Modifies the user account management interface.
- Email: Tailors the content and appearance of emails sent by Keycloak (e.g., verification emails, password reset emails).
- Admin: Allows customization of the Keycloak Admin Console.
Let’s take a look at a few quite relevant templates:
- login.ftl – the most commonly customized template in Keycloak. It is responsible for rendering the login page where users enter their credentials (username/email and password) to access your application.
- register.ftl – used for the registration page where new users can create an account.
- login-reset-password.ftl – used when a user initiates the password reset process.
- login-update-password.ftl – used when a user is required to update their password, either after a successful password reset or due to a policy requirement (e.g., periodic password changes).
Theme properties
In addition to the HTML templates, message bundles, images and stylesheets, a Keycloak theme includes a few more elements like theme properties. Each theme type has its own configuration file. For instance, consider the theme.properties file from the login theme:
parent=keycloak
import=common/keycloak

styles=css/login.css css/tile.css
stylesCommon=web_modules/@fortawesome/fontawesome-free/css/icons/all.css
web_modules/@patternfly/react-core/dist/styles/base.css
web_modules/@patternfly/react-core/dist/styles/app.css
node_modules/patternfly/dist/css/patternfly.min.css
node_modules/patternfly/dist/css/patternfly-additions.min.css lib/pficon/pficon.css
This file shows that the theme inherits from the base theme to utilize its HTML templates and message bundles. It also imports the common theme to include additional styles. Beyond that, the theme specifies its own stylesheet, css/login.css.
Messages and i18n
Keycloak supports internationalization in themes by allowing you to create language-specific properties files, which store translations for text used in templates. These files, named messages_<locale>.properties contain key-value pairs where the key represents a text element, and the value is its translation in the target language. In our FTL templates, we reference these keys using the ${msg()} directive, allowing our application to automatically display the appropriate translation.
It should refer to the language currently selected by the user. Keycloak determines the language based on browser settings, provided that the language is configured in the system.
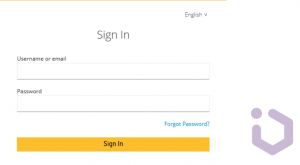
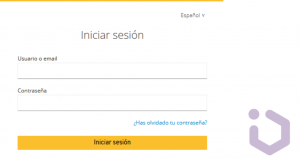
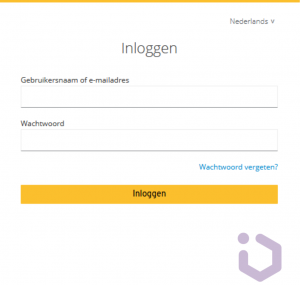
For example, on the login page, you can provide a translation for the header “Sign in to your account,” which may not be translated by default in languages like Dutch or Spanish. To do this, you can edit the loginAccountTitle field in the messages file, adding the appropriate translation for each language. This way, when users select their language, they will see the translated version in the login interface.
messages.nl
loginAccountTitle=Inloggen

messages.es
loginAccountTitle=Iniciar sesi\u00F3n

messages.en
loginAccountTitle=Sign In
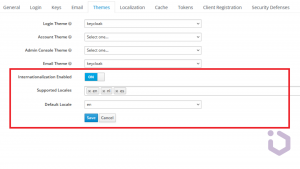
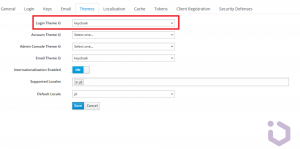
The final step is to configure the internationalization settings for your realm according to the provided screenshot. This ensures that the translations you added, such as for the loginAccountTitle field, are correctly applied based on the user’s selected language.
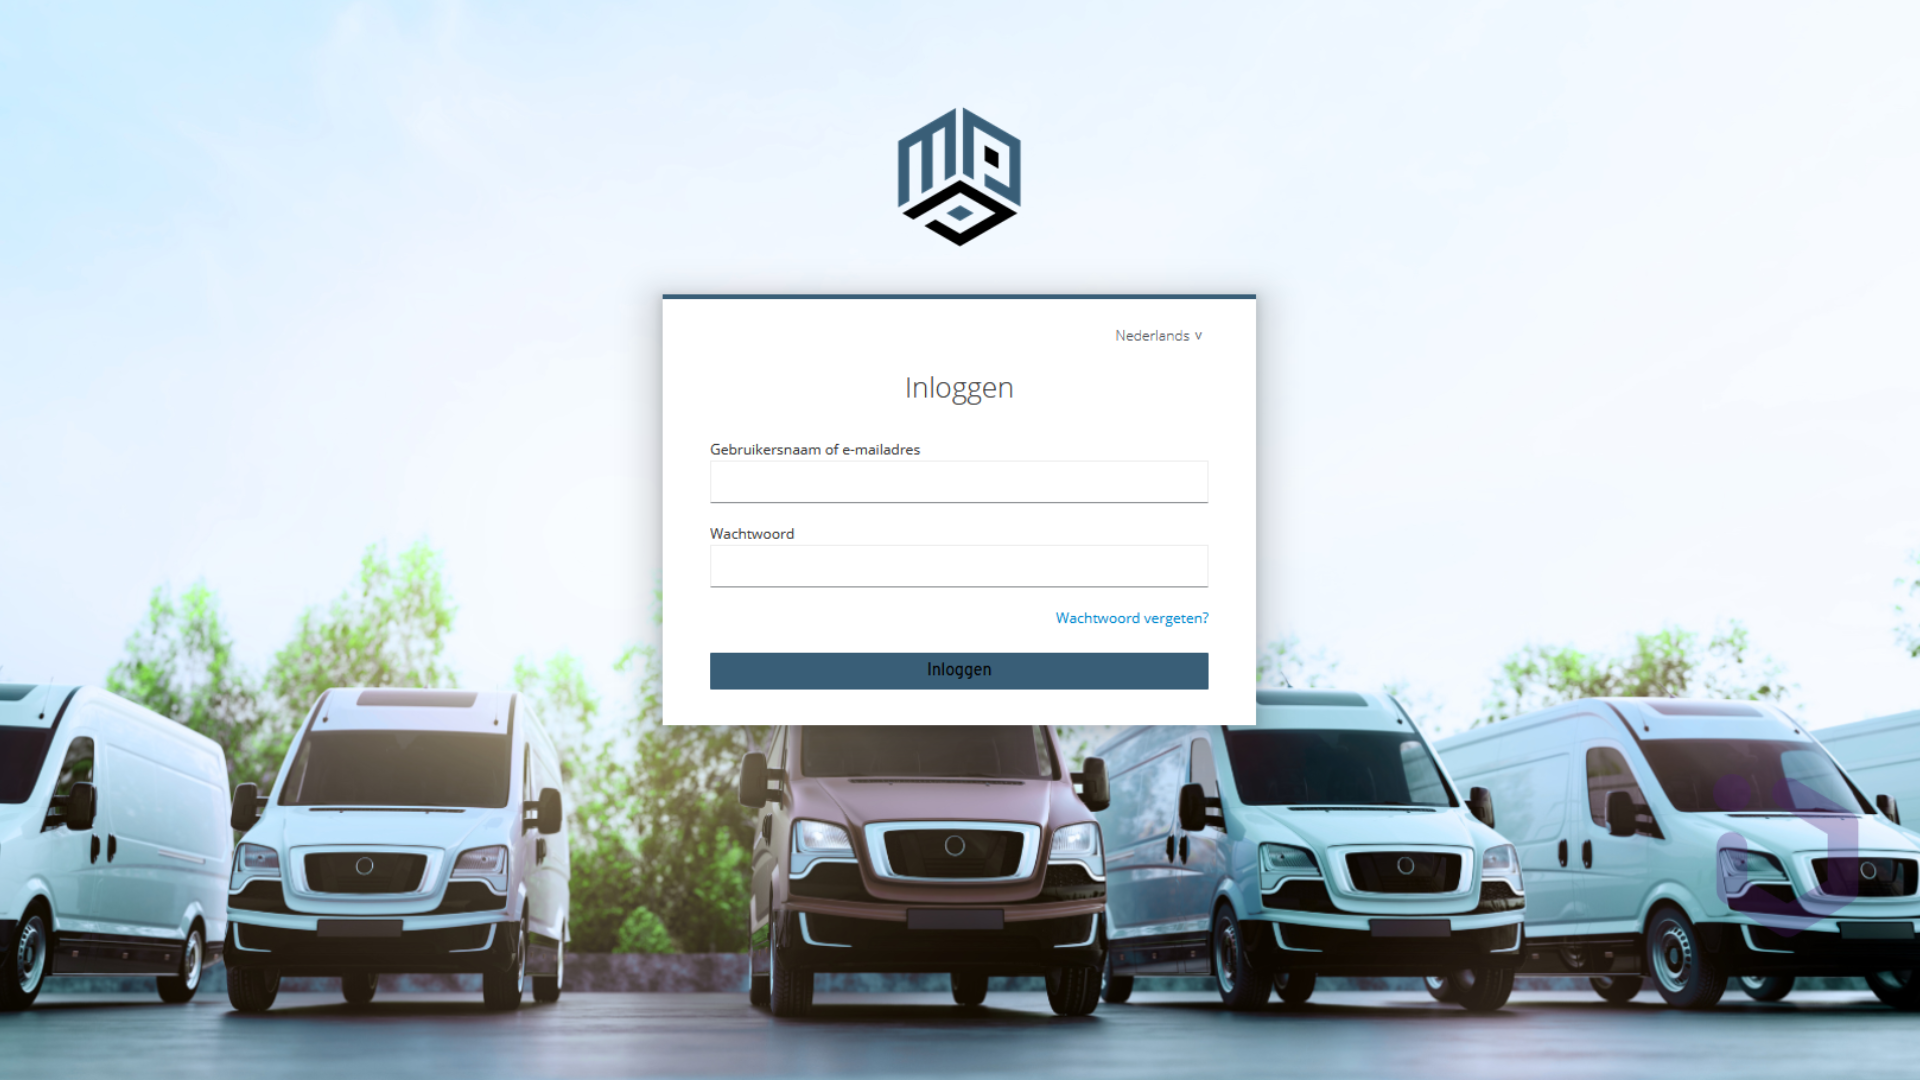
The original English version and the final result for the Spanish and Dutch versions is shown below.
Customizing our theme
Before diving into theme customization, ensure you have a working Keycloak instance. You’ll need access to the Keycloak server files and administrative privileges to apply the theme. If you’re running Keycloak in a Docker container, you can use a volume mount to access the theme files on your local machine.
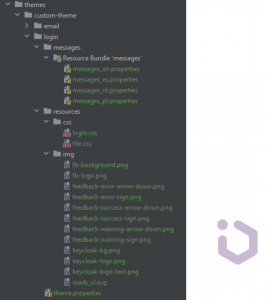
Create a directory structure for your custom theme by following the example below. The default theme files are located in the Keycloak server distribution under themes/keycloak/login. To get started, copy these default theme files from the Keycloak distribution to your custom theme directory.
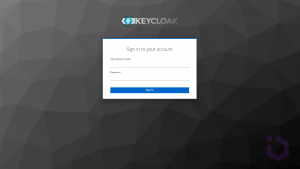
We’ll start with the basic login page, as shown below:
Locate and edit the CSS file that controls the styling of the login page. This is typically named login.css and is found in the resources/css directory of your custom theme. Now we can change background property and provide a custom .png file.
.login-pf-page::before {
content: "";
position: absolute;
top: 0;
left: 0;
width: 100%;
height: 100%;
opacity: 1;
background: rgba(255, 255, 255, 0.4) url("../img/fb-background.png") no-repeat;
background-size: cover;
     z-index: -1;
}
In addition to changing the background, we can also modify the color of the top border of the login screen and the color of the login button. Then we can add a custom logo. This can be done by modifying the following classes:
pf-m-primary {
color: black !important;
background-color: #B646AE !important;
}

.card-pf {
margin: 0 auto;
box-shadow: var(--pf-global--BoxShadow--lg);
padding: 0 20px;
max-width: 500px;
border-top: 4px solid;
border-color: #B646AE;
background-color: #fff;
}

#kc-header-wrapper::before {
content: "";
position: relative;
margin: auto;
display: block;
width: 200px;
background: url("../img/fb-logo.png") no-repeat;
background-size: auto;
}
The last step will be to activate the custom theme in the administrator console for a specific realm.
After the above changes, the final effect should look like this:
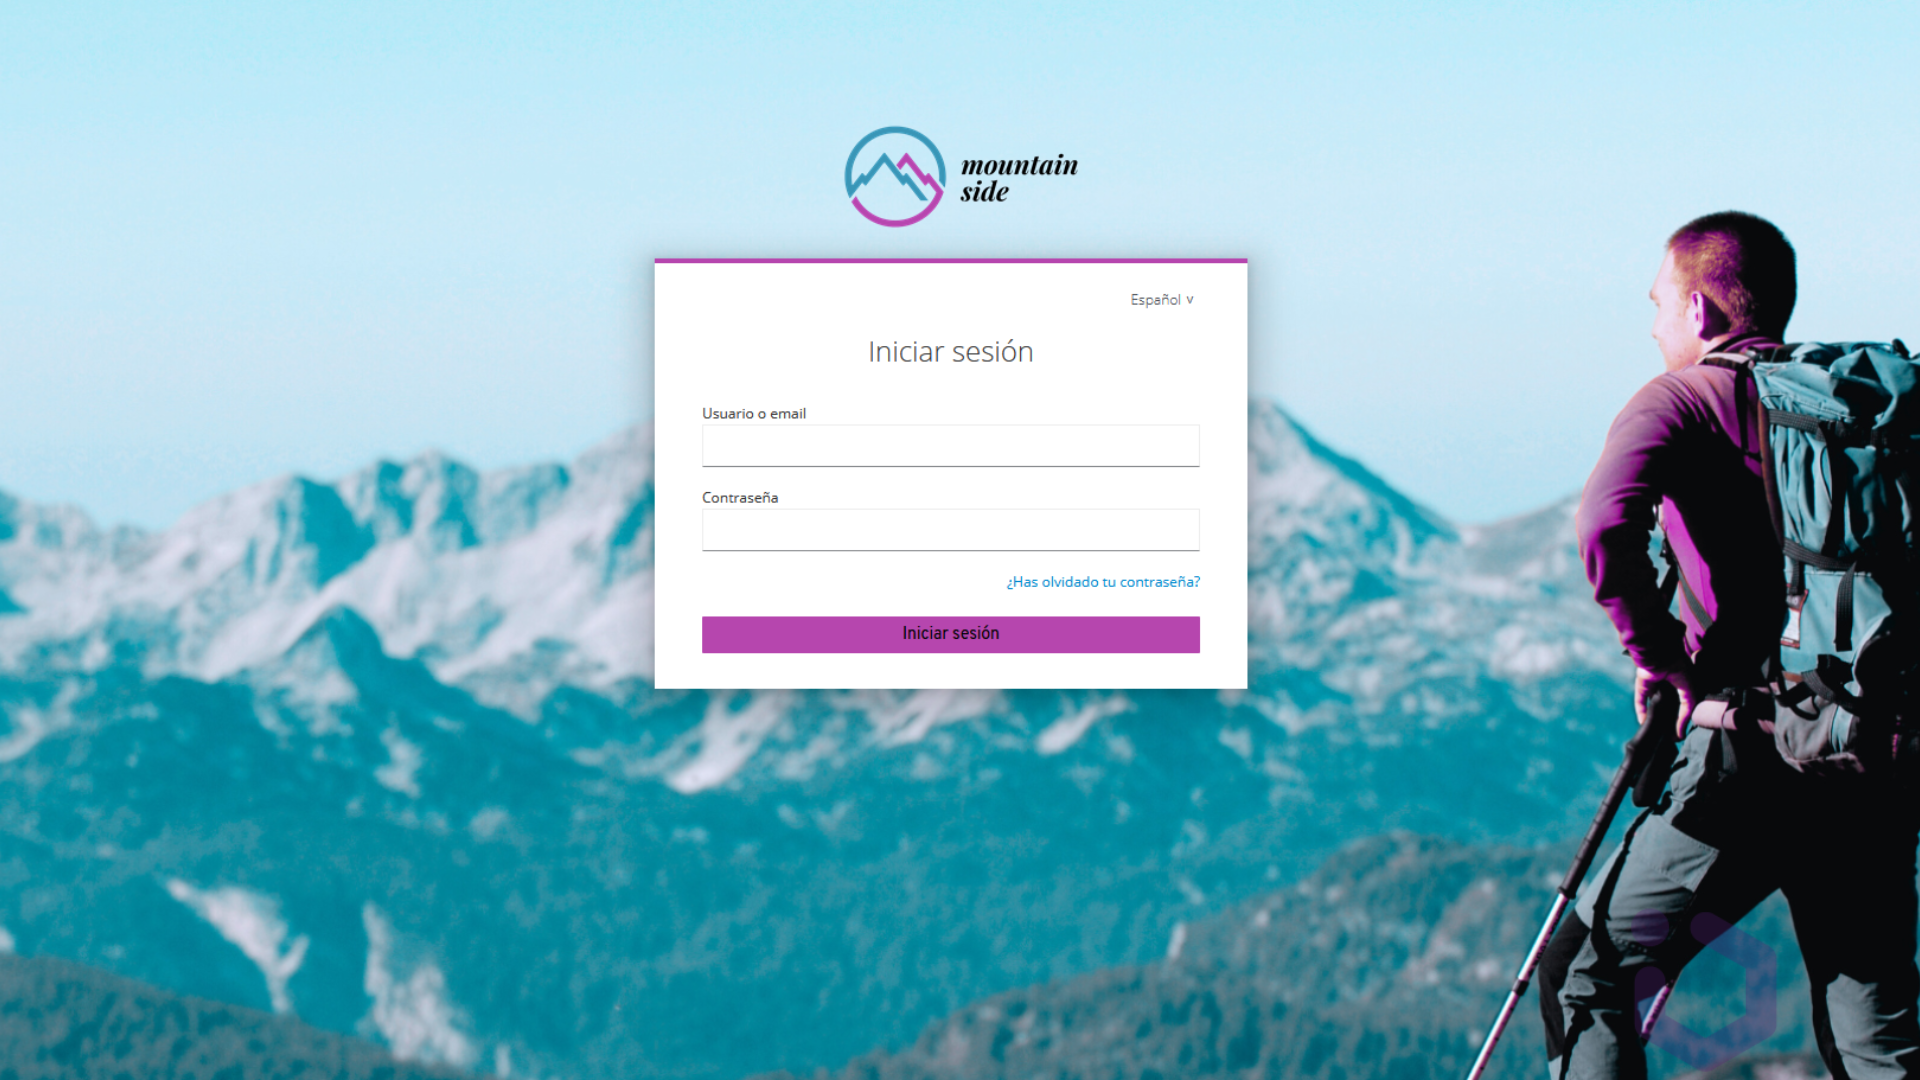
However, the final result can vary depending on the use of different image files and color definitions. By customizing these elements, you can easily achieve a unique appearance that aligns with your branding and design preferences. Just with different resources it can look like this:
As you can see now, customizing the Keycloak theme is pretty straightforward.
So far, we discussed how to customize Keycloak themes by adjusting visual elements. We covered the basics of Keycloak’s built-in themes, which include options for customizing the login page. In most cases, the process involves copying default theme files, modifying CSS for styling changes like background images and button colors, and editing FreeMarker templates for layout adjustments. Additionally, we explored how to use the theme.properties file to configure your custom theme. Now we have some basic tools to modify Keycloak’s appearance to better fit the brand and user needs.
Summary
- You can fully customize the login page to ensure it doesn’t resemble a Keycloak default theme. This not only improves the user experience but also helps users easily distinguish the legitimate login page from potential phishing attempts.
- Keycloak also allows you to customize the content and layout of email (i.e. password reset templates). By making unique, branded content you can help users recognize legitimate password reset requests, reducing the risk of falling victim to phishing attacks that mimic these emails.
- Beyond visual customization, themes support internationalization, enabling you to provide users with a familiar experience in their native language. This can include translating all text on login pages and in emails to the appropriate language. It enhances usability for global users.
Overall, customizing themes offers a range of possibilities to enhance the user experience and security of your IAM system.
Do you need assistance with Keycloak implementation, updates, or training? Contact me

Andrzej Chybicki
CEO, Inero Software Sp. z o. o.
andy@inero-software.com
Phone: +48 695 875 588
![]()
![]()